
Outdoor Faucet Winterizing Tips: Step-by-Step Guide
- Good Bros Plumbing

- Mar 30
- 4 min read
Winter is coming, and if you want to avoid costly plumbing headaches, it’s time to get serious about protecting your outdoor faucets. I’ve been through the drill myself, and trust me, a little prep now saves a lot of trouble later. Frozen pipes, burst faucets, and water damage? No thanks! Let’s walk through the simple steps to keep your outdoor faucets safe and sound all winter long.
Why Outdoor Faucet Winterizing Tips Matter
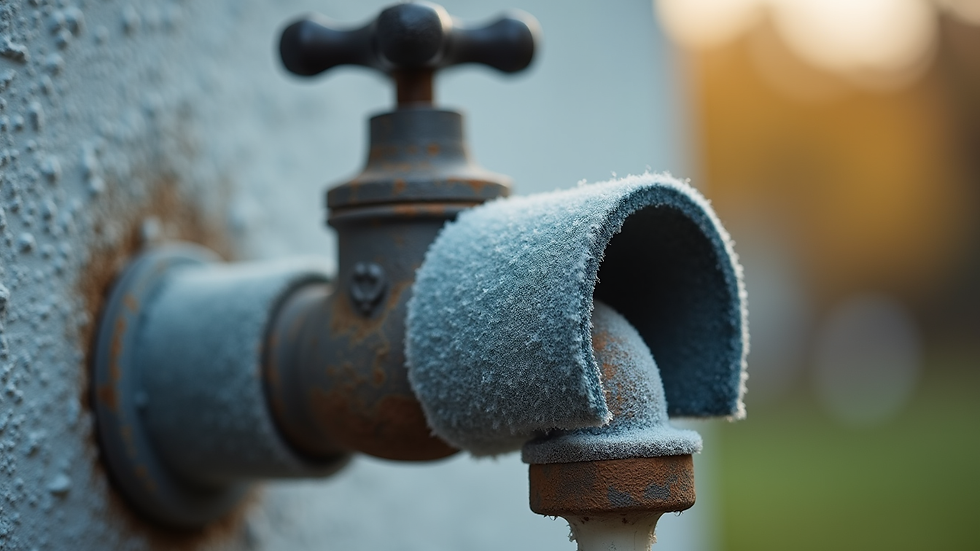
You might think, “It’s just a faucet outside. How bad can it get?” Well, when temperatures drop below freezing, water trapped inside your outdoor faucet or pipes can freeze, expand, and cause cracks or bursts. That means leaks, water damage, and expensive repairs come spring.
By following these outdoor faucet winterizing tips, you’re not just protecting your plumbing—you’re saving money and avoiding stress. Plus, it’s a quick job that anyone can do with a little guidance. Ready to get started? Let’s dive in.

Step 1: Turn Off the Water Supply to the Outdoor Faucet
The first and most important step is to shut off the water supply to your outdoor faucet. Usually, there’s a shut-off valve inside your home, often in the basement, crawl space, or utility room. Turn this valve clockwise until it’s fully closed.
Why? This stops water from flowing to the faucet, so there’s nothing left to freeze and cause damage. If you can’t find the valve or it’s stuck, don’t panic—call a professional plumber to help you out.
Step 2: Drain the Faucet and Disconnect Hoses
Once the water is off, head outside and open the outdoor faucet fully. This lets any remaining water drain out. Don’t forget to disconnect garden hoses and drain them separately. Leaving hoses attached traps water in the faucet, increasing the risk of freezing.
If you have a frost-free faucet, opening it will drain the water from the pipe automatically. For standard faucets, you might want to use a small air compressor or gently blow air through the faucet to clear out any leftover water.
When winterizing outdoor faucets, do you leave them open or closed?
This is a common question, and the answer is: leave the faucet open after shutting off the water supply. Why? Leaving it open relieves pressure and allows any trapped water to expand safely if it freezes. A closed faucet with water inside can burst the pipe or faucet itself.
So, after you turn off the water inside and drain the faucet, keep the outdoor faucet handle in the open position throughout the winter. This simple step can save you from a plumbing disaster.
Step 3: Insulate Your Outdoor Faucet
Now that your faucet is drained and open, it’s time to add some insulation. You can buy foam faucet covers at most hardware stores, or you can DIY with materials like old towels, rags, or even foam pipe insulation.
Wrap the faucet and secure the insulation with duct tape or zip ties. This extra layer helps keep cold air away and prevents freezing. If you want to go the extra mile, you can also insulate the pipe leading to the faucet inside your home or crawl space.
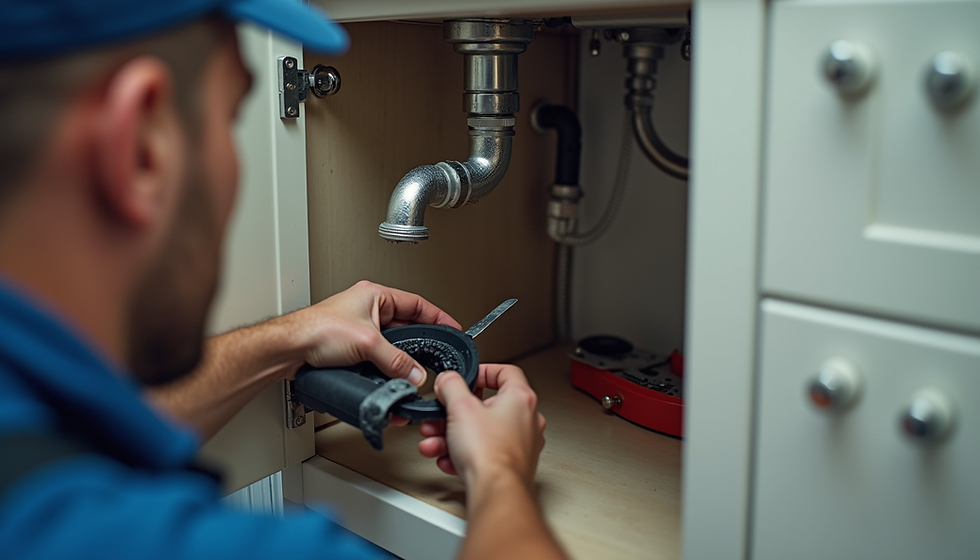
Step 4: Check for Leaks and Repair if Needed
Before winter fully sets in, take a moment to inspect your outdoor faucet for any leaks or drips. Even a small leak can freeze and cause bigger problems. If you notice any issues, now’s the time to fix them.
Tighten loose connections, replace worn washers, or call a plumber if you’re unsure. Catching problems early means you’ll avoid emergency repairs when it’s freezing outside.
Step 5: Consider Installing a Frost-Free Faucet
If you’re tired of winterizing every year, you might want to upgrade to a frost-free outdoor faucet. These faucets are designed to drain water away from the exposed part, reducing the risk of freezing.
Installing one is a bit more involved and might require professional help, but it’s a smart investment if you live in an area with harsh winters. It can save you time and money in the long run.
Bonus Tips for a Smooth Winter
Label your shut-off valve so you can find it quickly next year.
Keep a small wrench handy near the faucet for quick adjustments.
Check your gutters and downspouts to make sure water isn’t pooling near your foundation or pipes.
If you have an irrigation system, winterize it separately to avoid damage.
Ready to Protect Your Plumbing?
Winterizing your outdoor faucets is one of those chores that pays off big time. By following these steps, you’ll keep your plumbing safe, avoid costly repairs, and enjoy peace of mind all winter long.
If you want a little extra help or have questions about your specific setup, don’t hesitate to reach out to trusted local experts. They can make sure everything is done right the first time.
For more detailed advice on winterizing outdoor faucets, check out trusted plumbing resources or give your local pros a call. Stay warm and worry-free this winter!
Thanks for stopping by! Stay cozy and keep those faucets frost-free.


Comments