
Outdoor Faucet Winterizing Tips: Step-by-Step Guide
- Good Bros Plumbing

- Mar 30
- 3 min read
Winter is coming, and if you want to avoid costly plumbing headaches, it’s time to get serious about protecting your outdoor faucets. I’m here to walk you through the process with clear, friendly advice that even a beginner can follow. Trust me, a little prep now saves you from a frozen pipe disaster later.
Let’s dive into the essential steps to keep your outdoor faucets safe and sound all winter long.
Why Outdoor Faucet Winterizing Tips Matter
You might be thinking, “It’s just a faucet outside. How bad can it get?” Well, when temperatures drop below freezing, water trapped inside your outdoor faucet or pipes can freeze, expand, and cause cracks or bursts. That means leaks, water damage, and expensive repairs come spring.
By following these outdoor faucet winterizing tips, you’re protecting your home’s plumbing system and your wallet. Plus, it’s a quick job that pays off big time.
Step 1: Gather Your Tools and Supplies
Before you start, make sure you have everything you need. Here’s a quick checklist:
Adjustable wrench or pliers
Screwdriver (usually flathead)
Faucet cover or insulated foam cover
Towels or rags
Garden hose (to drain water)
Pipe insulation tape (optional)
Having these ready will make the process smooth and stress-free.
Step 2: Shut Off the Water Supply to the Outdoor Faucet
The first real step is to stop water from flowing to the faucet. Most homes have an indoor shut-off valve for outdoor faucets. It’s usually located in the basement, crawl space, or utility room.
Turn the valve clockwise until it’s fully closed. This stops water from entering the outdoor pipe. If you can’t find the valve, or it’s stuck, don’t hesitate to call a professional plumber to help.
Step 3: Drain the Outdoor Faucet Completely
Now that the water supply is off, open the outdoor faucet fully to let any remaining water drain out. This step is crucial because even a small amount of water left inside can freeze and cause damage.
If you have a garden hose attached, remove it and drain it separately. Leaving a hose connected can trap water and cause freezing inside the hose or faucet.

When winterizing outdoor faucets, do you leave them open or closed?
Great question! The answer is: leave the outdoor faucet open after draining it. This allows any leftover water to expand safely if it freezes, reducing the risk of pipe damage.
Closing the faucet tightly traps water inside, which can freeze and cause cracks. So, keep it open and uncovered until you install the faucet cover.
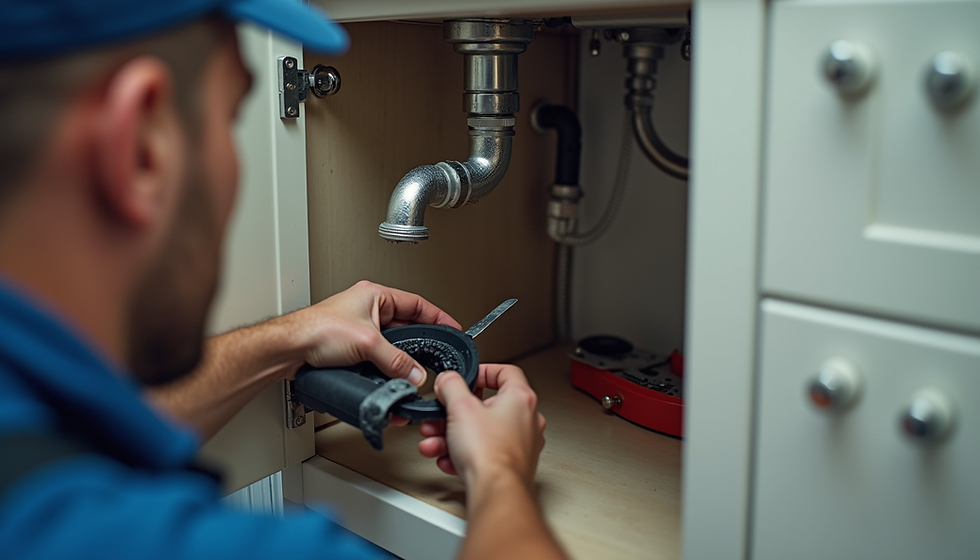
Step 4: Install an Insulated Faucet Cover
Once the faucet is drained and open, it’s time to protect it from the cold air. Insulated faucet covers are inexpensive and easy to install. They act like a cozy winter hat for your faucet.
Simply place the cover over the faucet and secure it with the built-in straps or tape. If you don’t have a cover, you can wrap the faucet with pipe insulation tape and then cover it with a plastic bag secured with a rubber band.

Step 5: Consider Additional Pipe Insulation
If your outdoor faucet is connected to exposed pipes, especially in unheated areas like crawl spaces or basements, it’s smart to insulate those pipes too. Use foam pipe insulation sleeves or wrap them with insulation tape.
This extra step helps prevent freezing further back in the plumbing system, giving you peace of mind.
Step 6: Double-Check and Prepare for the Cold
Before the first freeze hits, double-check that:
The indoor shut-off valve is fully closed
The outdoor faucet is open and drained
The faucet cover is securely in place
Any hoses are disconnected and stored indoors
If you follow these steps, you’ll be well-prepared for winter’s chill.
Bonus Tips for a Smooth Winterizing Experience
Mark your shut-off valve with a bright tag or label so you can find it easily next year.
Schedule a professional inspection if you’re unsure about your plumbing system’s condition.
Keep a small heater or heat tape handy for extreme cold snaps in Oklahoma City.
These little extras can make a big difference.
Why Trust Good Bros Plumbing for Your Winterizing Needs?
If you want to skip the DIY or need help with tricky plumbing, Good Bros Plumbing is your go-to team in Oklahoma City and nearby communities. They’re known for honest, fast, and reliable service that keeps your home safe and warm all winter.
Don’t wait until a frozen pipe turns into a flood. Reach out to the pros and get your outdoor faucets winter-ready today.
Winterizing your outdoor faucets is a simple but essential task that protects your home and saves you money. With these steps, you’ll breeze through the process and enjoy peace of mind all season long.
Ready to get started? Check out this winterizing outdoor faucets guide for more tips and expert help. Stay warm and worry-free this winter!


Comments