
Winterizing Outdoor Faucets: Your Ultimate Winter Faucet Protection Guide
- Good Bros Plumbing

- Jan 20
- 4 min read
Winter is coming, and if you’re like me, you want to avoid any plumbing disasters that could turn your cozy home into a chilly mess. One of the easiest ways to protect your home and save money on repairs is by winterizing your outdoor faucets. Yes, those little valves outside your house need some love before the cold hits Oklahoma City and nearby areas.
Let’s dive into everything you need to know about winter faucet protection. I’ll walk you through the why, the how, and the when, with some handy tips to keep your pipes safe and sound all winter long.
Why Winter Faucet Protection Matters
You might be wondering, “Is it really necessary to winterize my outdoor faucets?” The short answer: absolutely. When temperatures drop below freezing, water left inside your outdoor pipes can freeze, expand, and cause pipes to crack or burst. This can lead to costly repairs and water damage inside your home or business.
Here’s why winter faucet protection is a must:
Prevent frozen pipes: Frozen water expands and can burst pipes, leading to leaks.
Avoid costly repairs: Fixing burst pipes can cost hundreds or even thousands of dollars.
Keep your water flowing: Damaged pipes mean no water until repairs are done.
Protect your property: Water leaks can damage walls, floors, and foundations.
Taking a little time now to winterize your outdoor faucets can save you a lot of headaches later. Plus, it’s a simple DIY task that anyone can handle with the right tools and instructions.

How to Do Winter Faucet Protection Like a Pro
Ready to get your hands a little dirty? Here’s a step-by-step guide to winterizing your outdoor faucets. Follow these steps carefully, and you’ll be set for the cold months ahead.
What You’ll Need:
Adjustable wrench or pliers
Screwdriver (if your faucet has a cover)
Faucet cover or insulated foam cover
Towels or rags
Garden hose (optional)
Step 1: Turn Off the Water Supply
Locate the shut-off valve inside your home that controls water to the outdoor faucet. This is usually found in the basement, crawl space, or utility room. Turn it off completely to stop water flow to the outside.
Step 2: Drain the Faucet
Go outside and open the outdoor faucet to let any remaining water drain out. Leave it open during the winter to allow any trapped water to expand safely without causing damage.
Step 3: Disconnect Garden Hoses
Remove any garden hoses attached to the faucet. Leaving hoses connected can trap water and cause freezing and damage.
Step 4: Drain the Hose Bibb Vacuum Breaker (if applicable)
If your faucet has a vacuum breaker, drain it according to the manufacturer’s instructions to prevent freezing.
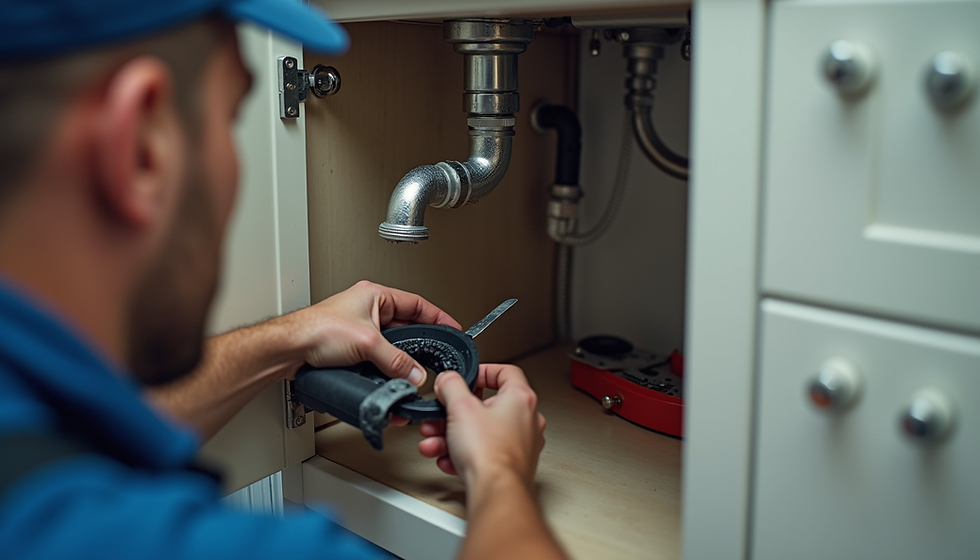
Step 5: Install a Faucet Cover
Slip on an insulated faucet cover or wrap the faucet with foam insulation. This extra layer helps keep the faucet warm and prevents freezing.
Step 6: Check for Leaks
Before winter fully sets in, check your outdoor faucets for leaks or drips. Fix any issues promptly to avoid bigger problems.
When Winterizing Outdoor Faucets, Do You Leave Them Open or Closed?
This is a question I get all the time, and the answer might surprise you. When winterizing outdoor faucets, you actually want to leave the faucet open after shutting off the water supply inside your home.
Why? Leaving the faucet open allows any water left in the pipe to expand safely as it freezes. If the faucet is closed, pressure can build up inside the pipe, increasing the risk of a burst.
So, the correct sequence is:
Turn off the indoor shut-off valve.
Open the outdoor faucet fully.
Leave it open all winter.
This simple step can save you from a plumbing nightmare.
Extra Tips for Winterizing Outdoor Faucets in Oklahoma City
Living in Oklahoma City means dealing with occasional freezing temperatures that can catch you off guard. Here are some extra tips tailored for our local climate:
Use foam faucet covers rated for your area: Not all covers are created equal. Choose ones designed for colder climates.
Insulate exposed pipes: If you have pipes running along exterior walls, wrap them with pipe insulation sleeves.
Check your gutters and downspouts: Proper drainage prevents water from pooling near your foundation and pipes.
Schedule a professional inspection: If you’re unsure about your plumbing system, call a trusted local plumber for a winter readiness check.
Consider frost-free faucets: If you’re replacing old faucets, opt for frost-free models designed to prevent freezing.
By taking these extra precautions, you’ll be well-prepared for whatever winter throws at you.
What to Do If You Forget to Winterize Your Outdoor Faucets
Hey, life happens. Maybe you forgot to winterize your outdoor faucets, and now you’re facing freezing temps. Don’t panic! Here’s what you can do:
Turn off the water supply immediately: Stop water flow to prevent further damage.
Open the faucet: Let any ice inside expand safely.
Use a hairdryer or warm towels: Gently warm the pipe to thaw frozen water. Avoid open flames or high heat.
Check for leaks: Once thawed, inspect for cracks or leaks.
Call a plumber if needed: If you notice damage or leaks, get professional help right away.
Remember, acting quickly can minimize damage and repair costs.
Keeping Your Plumbing Safe All Year Round
Winterizing your outdoor faucets is just one part of protecting your home’s plumbing. Regular maintenance and timely repairs keep your system running smoothly and prevent emergencies.
If you want peace of mind this winter, consider scheduling a plumbing inspection with a trusted local expert. They can spot potential issues before they become costly problems.
For those in Oklahoma City and nearby communities, winterizing outdoor faucets is a smart, simple step toward a worry-free winter. Take care of your faucets now, and enjoy the season without plumbing stress.
Stay warm, stay safe, and happy winterizing!
This guide was brought to you by Good Bros Plumbing - your trusted partner for reliable, honest, and fast plumbing solutions in Oklahoma City and surrounding areas.


Comments